Limit access to sensitive tasks and information within your project management tool using Jira permission schemes at the global and project levels.
Improve user management efforts and avoid project chaos by employing Jira groups, roles, & permissions to control access to key features and functions

Project management runs on clear boundaries. When responsibilities blur, work stalls, duplicate tickets pile up, and the wrong people end up editing the wrong things.
Atlassian Jira's user management tools give admins a way to keep that order. By controlling how users and groups access features, admins can shape permissions around the projects people work on and the roles they hold.
Jira groups, roles, and permission schemes are the three levers that make this work. Here's how to use each one.
A Jira group is a collection of users organized by role, team, department, or any other criteria an admin defines. Groups let admins grant privileges to many people at once instead of setting permissions user by user.
Admins can use groups to control access to:
Application access
Global or project-specific permissions
Email notifications
Issue filters and dashboard access
Workflow conditions
Project role integration
Grouping users saves time and keeps access consistent as teams grow. Four common group patterns cover most needs:
Project-based: Everyone working on a specific project, granting access to create, edit, and resolve related issues.
Role-based: Users grouped by their function within the project or organization, with permissions tied to that position.
Department-based: A group per department, such as Marketing or Deployment, granting access to related projects.
Custom: A group built for a unique need, using criteria such as geographic location or product line.
Creating a group in Jira Cloud takes seven steps:
1. Ensure you have administrator access to the Jira instance. 2. Log into Jira Cloud as an admin. 3. Select "Settings" from the top right corner of the screen. 4. Click on "User management." 5. Click the "Create group" button in the top right corner. 6. Enter a unique name and group description. 7. Click "Create" to save the new Jira group.
A Jira role is a predefined assignment that determines what actions a user or group can perform inside a project. Admins assign roles to grant permissions such as:
Creating or editing issues
Managing configurations
Running reports
Roles keep responsibilities scoped so team members work on their own assignments without stepping on someone else's. Jira ships with six default roles:
Administrator: Full access to Jira features, including adding users and managing groups and permissions.
Project manager: Manages one or more Jira projects, with permission to create and manage project boards, workflows, and issues.
Developer: Develops project code, creates and edits issues, views project boards, and collaborates with team members.
Reporter: Flags bugs and other project issues, creates and edits issues, and comments on assigned work.
Assignee: Works on assigned issues, updates their status, comments, and collaborates with the team.
Viewer: Usually a stakeholder. Can access project boards and issues but has restricted change and update rights.
A Jira permission scheme defines who can perform specific actions within a project or instance, such as:
Creating or editing issues
Transitioning workflows
Managing or adjusting project settings
Every Jira project has a permission scheme, and admins can customize it to fit the team's workflow. A Jira Cloud permission scheme has three elements:
Permission levels: These determine which actions users can perform, such as "browse," "delete," and "assign."
Permission assignments: These identify the permission level of Jira groups and Jira roles (e.g., "administrator," "developer," or "reporter").
Permission types: Global permissions grant system-wide access; project and issue permissions govern users' access within single projects or issues.
Assigning a permission scheme to a role or group grants everyone in that category access to the specified actions. Admins can layer multiple schemes on the same role or group and define role-based permissions alongside Jira groups.
For example, an admin might assign the "Testers" project role to members of a newly created tester group. That role gives everyone in the group access to testing and QA features, plus other related permissions.
A few best practices when applying permission schemes:
Avoid overcomplicated schemes to prevent confusion and preserve security.
Test schemes before deployment to confirm they behave as expected.
Use third-party applications to set roles and permissions automatically.
Evaluate schemes on a regular cadence to keep them relevant.
Govern recurring workflows with role-based permissions rather than user- or group-based ones to standardize repeat processes.
Document and communicate schemes so users and stakeholders understand them.
Onboard new users with the right scheme by integrating permissions into corporate account management.
Every Tempo product, from Structure PPM and Timesheets to Capacity Planner and Custom Charts for Jira, supports permission and user management across the Jira platform.
Tempo solutions give admins real-time permission tracking and role-based reporting to monitor access to key functions. Integrating Tempo into Jira Cloud simplifies permissions, tightens security, and improves collaboration across the organization.
Unlock efficient user management with Tempo.
Structure PPM
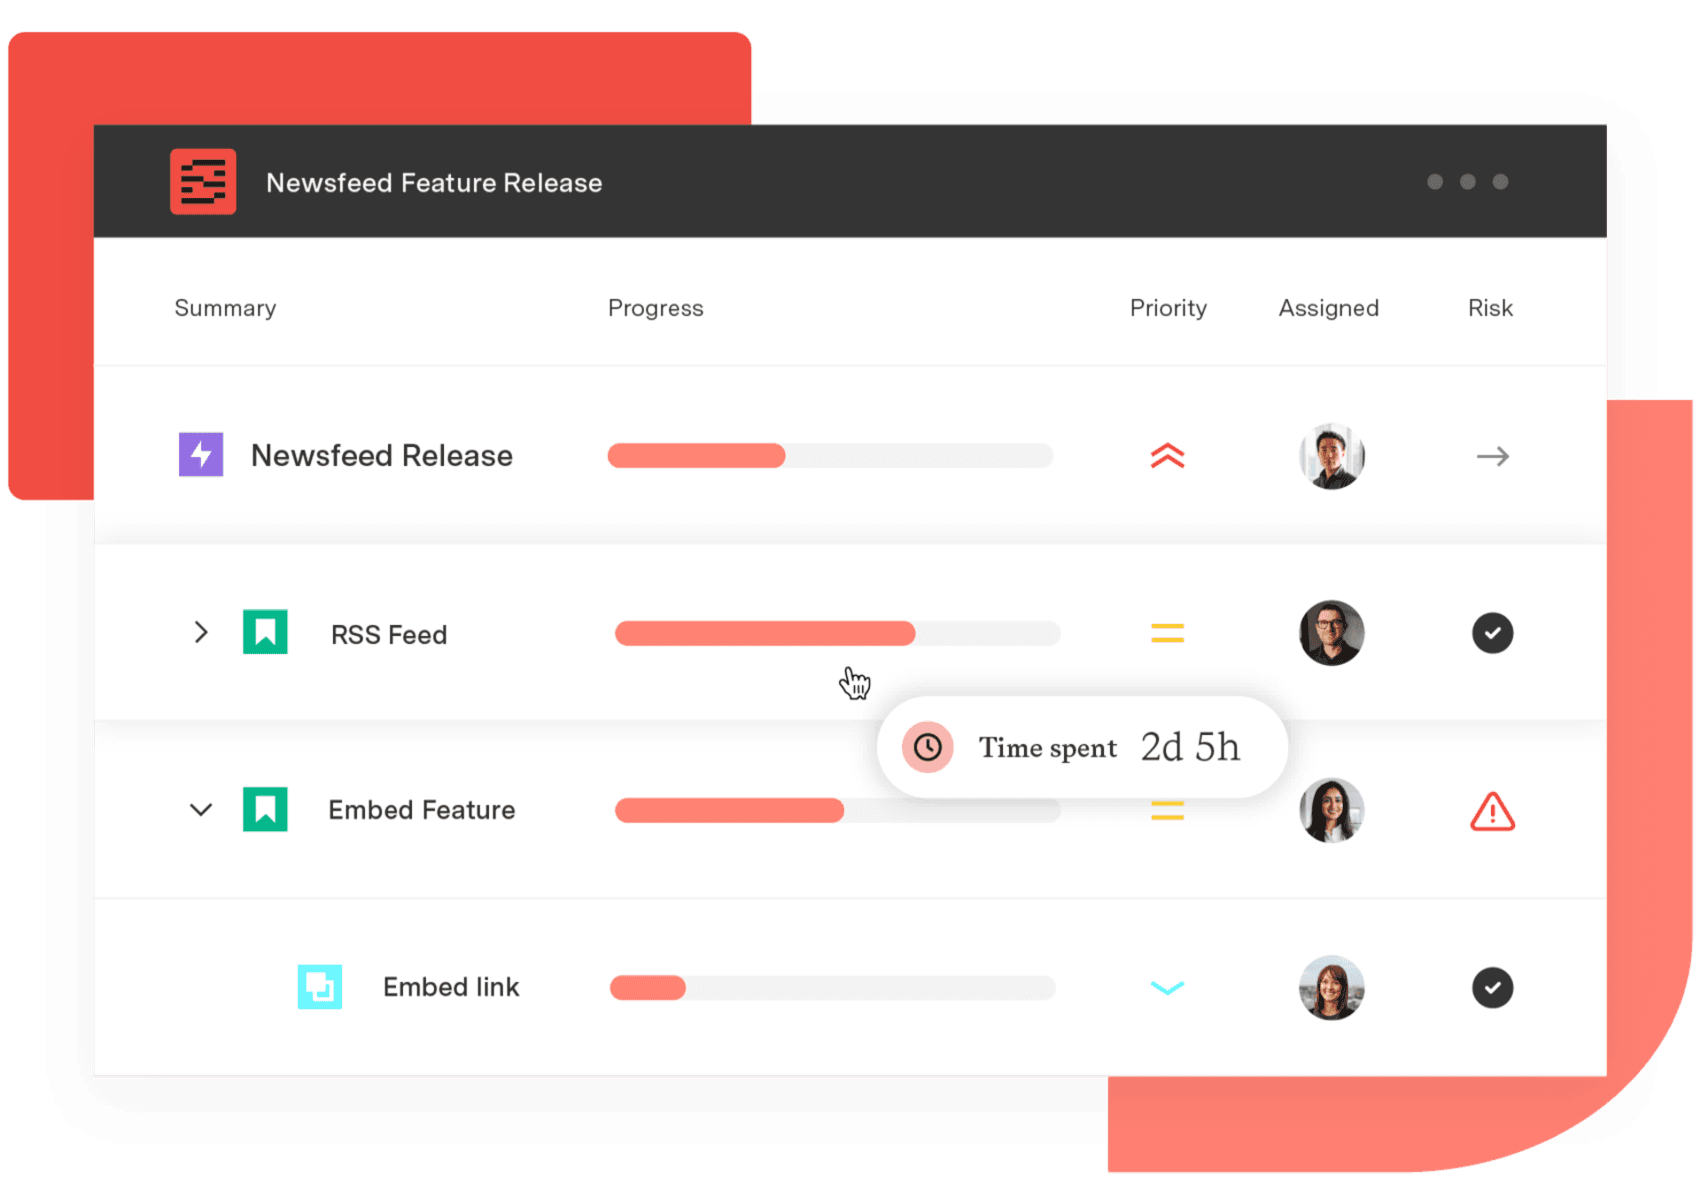
Manage products, projects, and programs in a single spreadsheet-like view. By providing a clear, real-time view of project progress and resource allocation, Structure helps teams meet deadlines and adapt swiftly to changing priorities.
Start a Free TrialCouldn't find what you need?Go to our documentation
Jira groups manage user access across the entire organization. Jira roles manage user permissions (i.e., what tasks users can perform) within individual projects.
From Project settings, perform the following steps:
1. Go to “Issues” > “Permission Schemes.”
2. Select the scheme you want to modify – or create a new one.
3. Select the group to which you’re granting permissions.
4. Assign the specific permissions you want granted.
5. Save the changes.
Yes, administrators can create customized permission schemes for projects within Jira.
Limit access to sensitive tasks and information within your project management tool using Jira permission schemes at the global and project levels.

Project roles allow you to assign permissions and responsibilities for project management. Here are some common project roles and ways to use them.

Create meaningful issue displays, speed up workflows, and increase efficiency by learning the best practices for Jira screens.

Learn about key agile roles to help you structure your teams and take control of project management and product development processes.

Creating Projects in Jira is really simple; however, there are some things you should have in mind when creating a new Jira Project.

Learn about different levels within the Jira hierarchy and how to leverage them to prioritize tasks, improve productivity, and monitor progress.

Learn how to leverage project management process groups and their related knowledge areas to create a framework that delivers consistent outcomes.

Tempo Timesheets features custom price tables where you can set different hourly price rates for team roles.

Explore how Jira plugins for Outlook enhance project management by automating task creation from emails and simplifying file attachments.