Learn how to generate Jira reports in Confluence to help build transparency, informed decision-making, and facilitate organizational collaboration.
Learn to create, share, and manage Jira filters to improve workflow, generate insights, and provide transparency to project teams and stakeholders.

Jira's search bar sorts through project data to surface the exact information you need — and its power doesn't end at the results page. You can save any search query as a filter and reuse it across boards, dashboards, and reports.
Filters cut the time spent hunting for issues and give teams a shared view of the work in progress. Here's how to add filters in Jira, when to apply them, and how to keep the list from becoming a graveyard of stale queries.
A Jira filter is a saved search query built on complex criteria that returns a reusable, sharable view of issues. Whether you're working in Jira Cloud or another Atlassian platform, filters let you sort through vast troves of data faster than manual searches allow.
Filters also connect to dashboards, creating a centralized place to display real-time information based on the queries a team runs most often.
Use filters whenever a search is worth running more than once. A project's success rests on the development team's decisions, and those decisions depend on a complete picture of the work. A well-curated set of filters lets teams sort through epics, stories, tasks, and issues to pull the data that informs each choice.
Jira filters adapt to a wide range of sorting and segmentation use cases. Common examples:
User-assigned issues: Filter issues according to the current user to track tasks and workloads.
Open issues: Monitor issue completion based on assignments to specific team members or groups, facilitating workload management.
Bugs: Squash programming bugs according to priority or version, ensuring high-priority updates ship first.
Unresolved issues: Uncover roadblocks or missed tasks by filtering unresolved issues.
Epics and stories: Generate a high-level view of progress by sorting for data on a project's big picture.
Due soon: Keep an assignee on schedule by identifying issues with approaching deadlines.
Updates: Monitor team activity and adjustments by filtering for recently updated issues.
Component or version: Analyze work on specific project areas by sorting according to component or fix version.
QA: Assign issues for quality assurance testing based on status.
Reports: Create period-based filters to generate reports on sprint progress, velocity, cycle time, or other metrics.
With this level of data access, teams stay current on progress, manage their workflows, and hit individual timelines without chasing status updates.
Jira has two search modes: Basic and advanced. Basic search is the default, using keyword-based queries across fields like issue summaries or descriptions. It's fast and easy to learn, but results are limited in granularity and personalization.
Advanced search uses Jira Query Language (JQL) to conduct customized searches based on precise criteria, including:
Project assignees
Date ranges
Custom fields
Priority
Labels
Advanced search returns exactly the data you're after, making JQL the foundation for filters that are reusable and sharable across workflows.
Jira's search function lets you navigate and manage project data by building and applying customized filters based on specific query criteria.
To create a new filter in Jira:
1. Open the Search Issues page by clicking the "Issues" option from the Jira menu. 1. Define query parameters using either the Basic or Advanced Search option. 1. Search and refine the query until it returns the desired results. 1. Click "Save Filter" and give the filter a meaningful name and description for easy reference. 1. Select "Issues" and navigate to "View All Filters" to access and manage saved filters.
Managing filters in Jira is a straightforward process. To edit or update a filter:
1. From the Issues menu, click "Filters." 1. Select the name of the filter you wish to edit. 1. To refine the criteria, click the "+" or "-" button next to each field. 1. To change the field order, click and drag it up and down. 1. Click "Save."
To delete a Jira filter:
1. Click "Filters" > "View all filters" from the navigation bar. 1. Select the filter you wish to delete. 1. Click "•••" > "Delete filter."
Filters can only be deleted by their owners or the Jira administrator.
Filters get more useful the more people rely on them. Jira lets you share filters with groups, projects, or roles to improve collaboration and streamline workflows.
To share a Jira filter:
1. Click "Issues" > "Manage filters." 1. Select the "My" tab. 1. Choose a filter to share. 1. Click "Details." 1. Select "Edit permissions" to open the "Edit current filter" dropdown. 1. Click "Add shares" to open the dialogue box, and then select "Everyone," "Group," or "Project." 1. Click the "Add" button to open a dropdown and select filter recipients. 1. Save your changes.
Subscriptions send scheduled updates whenever an owner runs a filter, so you don't have to open Jira to see what's changed. To subscribe:
1. Select "Filters" from the navigation bar. 1. Click "View all filters." 1. Choose "New subscriptions" to open a configuration dropdown. 1. Identify subscribers, delivery frequency, intervals, and delivery method. 1. Click "Save."
One caveat: The subscription system doesn't push updates in real time. If someone modifies the underlying query after Jira sends the report, subscribers won't know until the next scheduled delivery.
A few habits keep filters useful instead of turning them into clutter:
Don't create a filter for a one-off query or a search you won't rerun. Too many filters clutter the system and make the queries that matter harder to find.
Create custom filters for each project so you can access and track issues without getting distracted by unrelated work.
Name your filters with relevant keywords and a consistent naming convention so anyone on the team can find them. Clear names also help teammates avoid creating duplicates.
Jira's quick filters sort issues on Scrum or Kanban boards, displaying a specific issue type or presenting a custom view of the backlog tailored to the team's needs.
Jira lets you plug filters into gadgets and export them to dashboards for real-time monitoring. Before you edit a query, check who else depends on it — a small tweak can break someone else's report.
Tempo tools fully integrate with the Jira platform, expanding the data available to filter and sharpening the queries themselves. Structure PPM users can apply Jira filters to structures to focus on a subset of issues without those changes affecting anyone else. Custom Charts for Jira turns JQL queries into flexible charts and dashboards that surface team delivery, capacity, and speed across multiple projects.
Together, Tempo and Jira filters take the raw output of a search and turn it into something a team can actually act on.
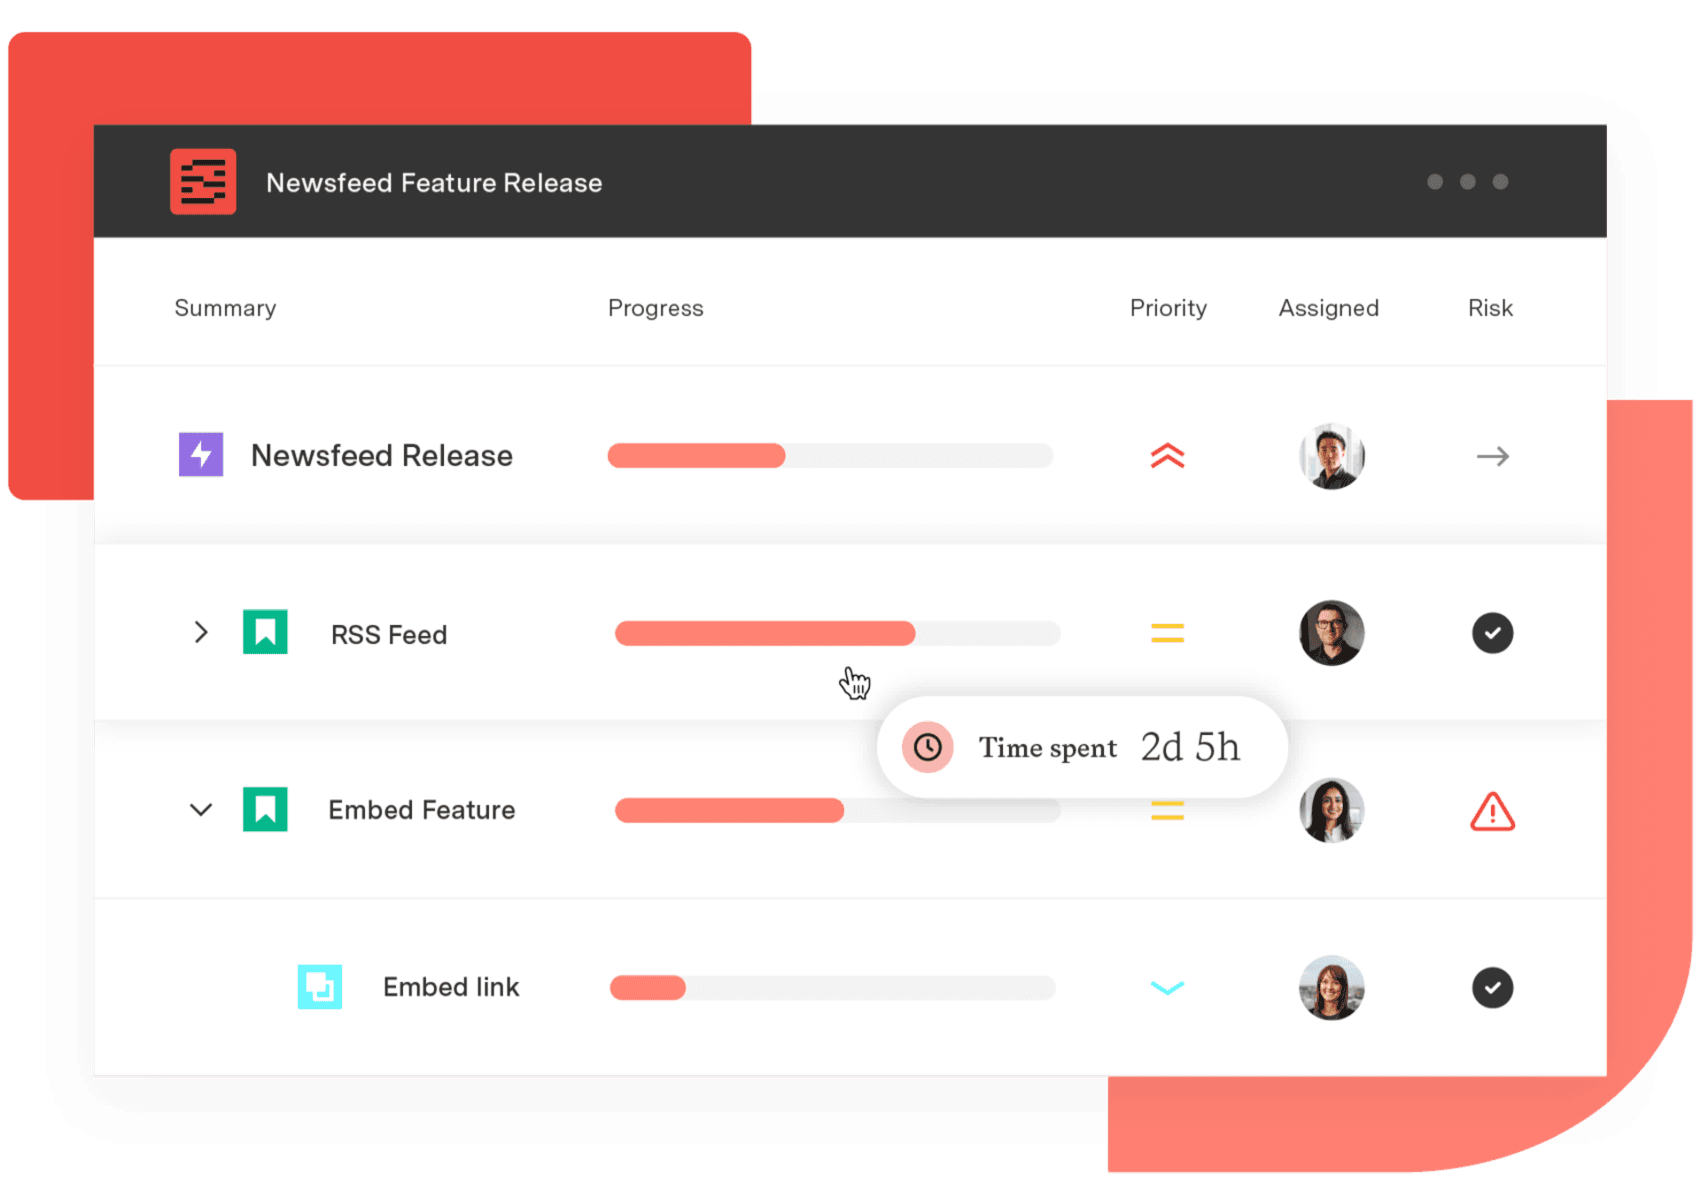
Structure PPM
Manage products, projects, and programs in a single spreadsheet-like view. By providing a clear, real-time view of project progress and resource allocation, Structure helps teams meet deadlines and adapt swiftly to changing priorities.
Start a Free TrialCouldn't find what you need?Go to our documentation
Atlassian includes filters in Jira Service Desk. Users can find issues or requests and display them in dashboards, project boards, and reports. They can also use filters to establish user notifications.
JQL is Atlassian’s proprietary programming language that allows Jira users to create custom or complex search queries. A filter is a reusable search query that uses saved criteria to generate specific results. Users can save JQL queries as filters to avoid repetitive searching.
Here are common JQL Jira filter examples that produce issue-related data:
-Issues assigned to a group: assignee in membersOf(“bugfix”)
-Issue types: type = "Bug”
-Open, high-priority issues: priority = High AND status = Open
Learn how to generate Jira reports in Confluence to help build transparency, informed decision-making, and facilitate organizational collaboration.

Learn to configure Jira “Resolution” field values to provide insight into an issue’s progress and accurately gauge performance.

Learn how various Jira custom reports can improve team efficiency and manage workloads while providing the necessary data for informed decision-making

Improve Jira search efficiency and accuracy by using JQL to create custom queries. Then, save and distribute them for repeated use.

Jira swimlanes are a great way of dividing up and categorizing the issues on your Jira agile board. Find out how to use them and quick filters.

Projectrak Jira Project Tracking stores crucial data, which presented visually allows better insights for the whole team.

Learn how to use Rich Filters for Jira Dashboards to be able to quickly filter your dashboards by Tempo Accounts and Tempo Teams.

Powerful and flexible filtering has never been easier for azure devOps thanks to Work Item Query Language support.

Ready to make the most of Tempo? Unlock powerful analytics and drive smarter decisions with intelligent insights.