Jira best practices: Configuring Jira permission schemes
Tempo Team
A successful project delivery requires strict control over who does what and when. Project administrators and managers are responsible for planning, tracking, and managing work. Jira permission schemes are an invaluable regulatory tool for defining how team members can access information and perform actions within a project.
Familiarity with Jira permissions ensures task accountability, documentation rigor, and transparency, so you and your team aren’t surprised by unauthorized changes to the project.
What is a permission scheme in Jira?
Permission schemes are a powerful tool within Atlassian’s Jira Cloud and related applications like Jira Service Management (JSM), an ITSM tool. They are rules established by administrators that determine who can access information or perform actions within the instance or individual projects.
When establishing a permission scheme, admins consider two factors:
Role-based access: Access to actions or features usually depends on the user’s role. For example, Jira administrators grant project managers access to the complete range of actions, whereas team members can only create or comment on an issue.
Security requirements: If your group is working on a sensitive project, administrators can limit access to documentation or features within the Jira software to approved team members and third-party stakeholders.
How do Jira permission schemes work?
Jira administration establishes and customizes permission schemes for each project within the platform. Each scheme organizes a set of permissions into levels, determining a user’s access to specific actions within Jira based on their position within the project hierarchy.
When a user attempts to execute an action, Jira checks the scheme to determine whether they have the correct permission level. If Jira admins grant access, the user can complete the task. Otherwise, the platform blocks the activity.
Sign up for a demo
Request DemoDetermining permission assignments
Within Jira, administrators manage user permissions according to an employee’s project role. This functionality offers a flexible, efficient way to regulate access to Jira features.
Administrators establish permission assignments for the following:
Users
A user is any person who can log into Jira. These individuals are automatically added to a default group and assigned a project role.
Groups
Groups are collections of users that require the same Jira access or restriction level. They are customized and managed globally by the Jira administrator, who adds users based on the level of access they need to fulfill their responsibilities. Project administrators or managers are responsible for adding groups to a project and establishing their roles within it.
Project roles
Project roles are a flexible way of associating a user or group with a particular project and related responsibilities. Unlike Jira groups, roles are project-specific and established by the project manager.
The most common project roles include the following:
Administrators
These team members govern project activities. They receive project-specific – not global – administrative permissions.
Developers
These individuals work on issues within the project. They have permission to edit and log activities related to their work.
Users
Team members who can log issues within a project. Access is limited to viewing and commenting on issues.
Categories of permission schemes
Within Jira applications, permission falls into one of three categories:
Global permissions
Users with Jira administrator access can configure global permissions. Usually applied to groups or users, global permissions grant access to information or actions across the entire instance rather than a single project.
Global permissions include:
Logging into Jira
Creating projects
Browsing user and group names
Performing bulk changes to multiple issues (e.g., edit, move, or delete)
Project permission
Administrators create and assign permission schemes to projects, outlining permissible user actions.
Some standard project permissions include the following:
Project administration rights, such as editing project roles, membership, components, or details
Browsing projects and viewing individual issues
Performing any sprint-related actions for all projects on a board
Viewing a project issue’s “read-only” workflow
Issue permissions
Issue permissions limit a user’s actions based on the project’s permissions and security scheme. A Jira system administrator, group user with admin access, or project administrator establishes these restrictions.
Actions that require issue permissions include:
Assigning issues
Creating new issues
Closing issues
Editing issues
Linking issues together
How to create and manage a permission scheme in Jira
Creating or managing a permission scheme requires Jira administration rights. Once granted, here’s how to get started:
Creating a permission scheme
To begin creating your permission scheme, log in to Jira. Once you reach your dashboard, follow these steps:
Select ⛮, then click “Issues”
Choose “Permission Schemes” from the sidebar to open the related page
Click “Add Permission Scheme” to launch the creation form
Name the new scheme and add a short description to identify it
Click “Add”
Voilà! You’ve created a new scheme. But you haven’t finished yet. You still need to define and grant permissions. Returning to the “Permission Schemes” page,
Add users, groups, and team roles and define their permissions
Link the permission scheme to affiliated projects
Managing permissions
You may need to modify permission schemes after creating them. Whenever administrators modify permissions, no matter the type, they change for everyone using that scheme. Although this makes updates fast and easy, it can lead to unforeseen outcomes. Double-check impacts before implementing them.
Here’s how to add users, groups, or roles in an established permission scheme:
Select ⛮, then click “Issues”
Open the “Permissions Schemes” page by clicking the link in the sidebar
Locate the permission scheme you wish to update and click “Permissions” in the “Actions” column to display the details
Click “Update” for each permission listed within the scheme to open the “Grant permission” dialogue box and review the details
Within the “Grant permission” dialogue box, select permission recipients. These can include individual users, groups, project roles, issue roles, and public.
Remember, some permissions are dependent on others. For example, to edit an issue, a team member must also have permission to browse the project.
Delete permissions
One type of permission requires special consideration: the ability to delete a comment, issue, or worklog. Deletion policies are often a topic of debate between those who wish to limit project information to what’s relevant for completion and those who want to preserve a complete history of conversations and decision-making.
For example, deleting comments carries significant risks. You could lose an essential part of a comment thread, rendering other responses unintelligible. Erasing an issue could delete historical data needed to improve processes or workflow.
Deletions only make sense when granting users permission to erase their worklog. To create a worklog in a new issue, users must first delete it from a previous ticket, which isn’t possible if that action is restricted.
Tips to master permission schemes
Mastering project permissions takes practice. Consider the following best practices to start off on the right foot:
Establish project-specific schemes: If you administer multiple projects, customize a project-specific scheme for each initiative rather than adopting a one-size-fits-all approach.
Manage access with workflow conditions: Control access to specific actions within a project by establishing workflow conditions. For example, you can require permissions for a team member to transition an issue to a new status.
Exert additional control with issue security schemes: Restrict access to critical issues with an issue security scheme. If a project is sensitive, you can limit access to confidential information to users with a particular security level.
Integrate third-party add-ons for additional functionality: The Atlassian Marketplace boasts third-party applications that extend permission scheme capabilities, such as managing permissions across multiple projects or offering additional security features.
Document permission schemes: Always document important permission scheme details, such as configuration data, customizations, and each user’s permission level. This information is invaluable when addressing a security breach or onboarding new team members.
Final words
Overseeing multiple managed projects requires a massive effort. You don’t have time to micromanage everyone’s access to tools and documentation. Fortunately, Jira permission schemes let you tame potential chaos by equipping team members with appropriate access while preventing users from overstepping their roles.
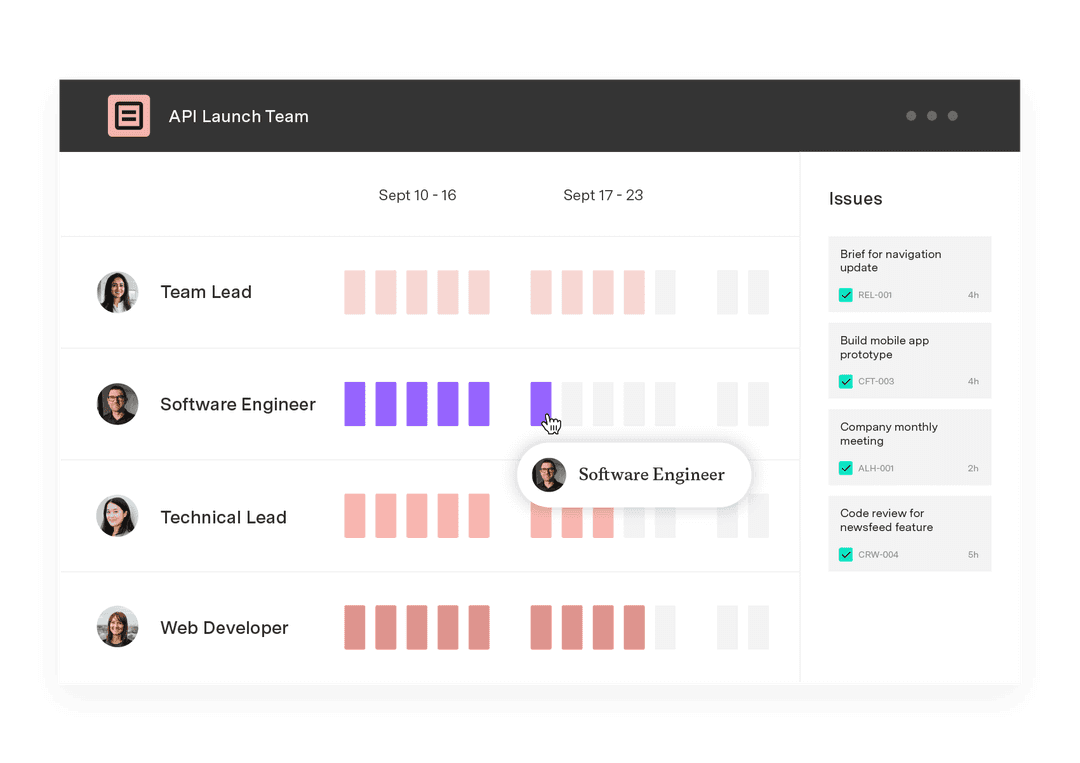
Tempo’s Capacity Planner ensures you’ve included the right people with the necessary skills in a working group. Once you’ve established your team, you can assign permissions immediately so they can hit the ground running without delay.