Jira best practices: Screen configuration and screen schemes
Tempo Team
From routine tasks to special projects and emergencies, you’ve got a lot on your plate. That’s why Atlassian constantly strives to innovate and integrate new productivity features for Jira, its project management platform. New functionality lets Jira users customize their instances so they work smarter, not harder.
This innovation extends to Jira screens. With the proper screen schemes, Jira screens streamline each issue’s data, populating your browser with relevant task information so you can cut down lead time and improve overall productivity.
If you’ve yet to improve your workflow using the screen feature, now is the time to start. Follow our step-by-step instructions for quick and easy setup, then review Jira screen best practices to get started on the right foot.
What is a screen in Jira?
In Jira software, screens allow you to control what issue-related information the user interface (UI) displays based on the issue type or stage of work.
Whether in Jira Cloud or Jira Service Management (JSM), you can create a unique UI configuration suited to creating, editing, transitioning, resolving, or viewing a task. For example, the screen could include different information fields depending on whether you’re generating a ticket for the support team or directing the development team to create a user story.
Why create screens in Jira?
Jira screens improve workflow by consolidating a task’s relevant information in one location. Instead of wasting time hunting down answers to questions, team members can get started and complete tasks faster.
If you’re creating screens for similar issues, you can copy an existing version and configure it to suit another ticket, streamlining your workflow and boosting efficiency.
Creating a screen in Jira
Screen configuration is straightforward, provided you have either Jira administrator or project administrator privileges. Once you receive admin rights, you can add a new screen in five steps.
Click on the ⛭ icon, then select “Issues.”
Select “Screens,” followed by “Add screens.”
Name your screen and describe its intended role (e.g., “Support issue creation screen” or “Bug screen”).
The summary field is the only default option when creating a screen, but you can select additional fields from the dropdown or type the desired field’s name into the search bar at the bottom of the current fields list. Once you’ve selected your options, click “Add field.”
Select “Add.”
Screens best practices: How Tempo fields can help you
When creating screens for your issues, remember that less is more. Avoid adding layers of complexity that will only confuse users and slow down workflows.
For any issue, the best practice is to create no more than three screens: one for issue creation, one for editing, and one for viewing. This way, the user only sees fields relevant to their current activity. For example, you only need a few basic fields when creating a new issue. If you’re editing an issue, you need additional information explaining the update’s purpose, any due date changes, and who authorized it.
You should also minimize the number of fields within a screen. One tactic is to remove the Summary Field, but that only works on the “Edit” and “Viewing Issue” screens. The “Create Issue” screen doesn’t function without the Summary Field.
Along with the Summary Field, standard fields include:
Description
Reporter
Assignee
If your team leverages Tempo products, you must add additional fields to your screen for the software to function correctly. Some of these are product-specific and include:
Time Tracking
Team
Account (when using Tempo Timesheets)
Iteration (when using Capacity Planner)
The Atlassian Community can help answer any further questions. The Atlassian Community is a knowledgeable group of users who are passionate about helping newcomers navigate their Jira customization challenges in a friendly, supportive environment.
Jira screen schemes
In Jira, a screen scheme allows users to associate a screen with one of three issue operations: Create, Edit, and View. It defines what fields are displayed, their location, and their organization to suit the user’s current task.
If you’ve followed best practices, you’ve already created a screen for each operation. Although it may seem like extra work, a scheme lets you add or remove screen fields without affecting the other versions.
How to create a screen scheme
The process of creating a screen scheme is similar to screen generation.
Select the ⛭ icon, then click on “Issues.”
Under “SCREENS,” select the “Screen Schemes” option.
Choose “Add Screen Scheme.”
Fill in the name and description, then choose your default screen.
Link your scheme to an Issue Operation by clicking “Configure” next to the relevant scheme.
Click “Associate an issue operation with a screen.”
Select your Issue Operation (Create, Edit, or View) and the desired screen.
Click “Add.”
Why create screen schemes in Jira?
Jira screen schemes improve productivity and efficiency by displaying only the information relevant to the issue and team. With the essential info available, users can get started quickly and perform tasks more effectively.
Sign up for a demo
Request DemoTempo tips for Jira screen schemes
Here are a few ways to get the most from the screen schemes you create:
A Jira screen scheme can only be associated with an issue. To associate a scheme with a Jira project, you must link it via the affiliated Issue Type Screen Scheme.
Configure your screen schemes to maximize your project workflow.
Use different schemes for different issues.
To open the quick navigation dialog box, click the period button (“.”) on your keyboard from anywhere in the Jira platform.
To quickly find and open a page in Jira, start typing its name and click “Return.”
What is the difference between screens and screen schemes?
Although related, screens and screen schemes are different. A screen defines the UI, determining which data fields Jira displays depending on the operation. A screen scheme is a collection of screens associated with an issue or project.
Issue type screen schemes
The screen scheme applies to an entire project, whereas the issue type screen scheme applies only to a specific issue within the project.
Workflow screens in Jira
Workflow screens are another type of screen that links to a transition instead of an issue-based screen scheme. For example, a Resolve Issue screen appears when the issue status changes to “Resolved” in the Jira workflow. It includes information crucial to the following process stage.
A workflow screen doesn’t require a “Summary” field. Instead, you can create a blank screen with a field labeled “Comment.” The user can fill in this field with an update of the work completed, improving communication and visibility between team members. When different workers are responsible for each stage, these updates keep everyone on the same page.
Consider creating separate screens for workflows and issues.
How Tempo can help you optimize Jira
Whether you’re in project management or at the service desk, you can customize Atlassian’s Jira platform to meet your organization’s distinct needs. Screens and screen schemes allow you to configure workflows and optimize productivity by providing timely information geared to users’ needs regarding the issue at hand.
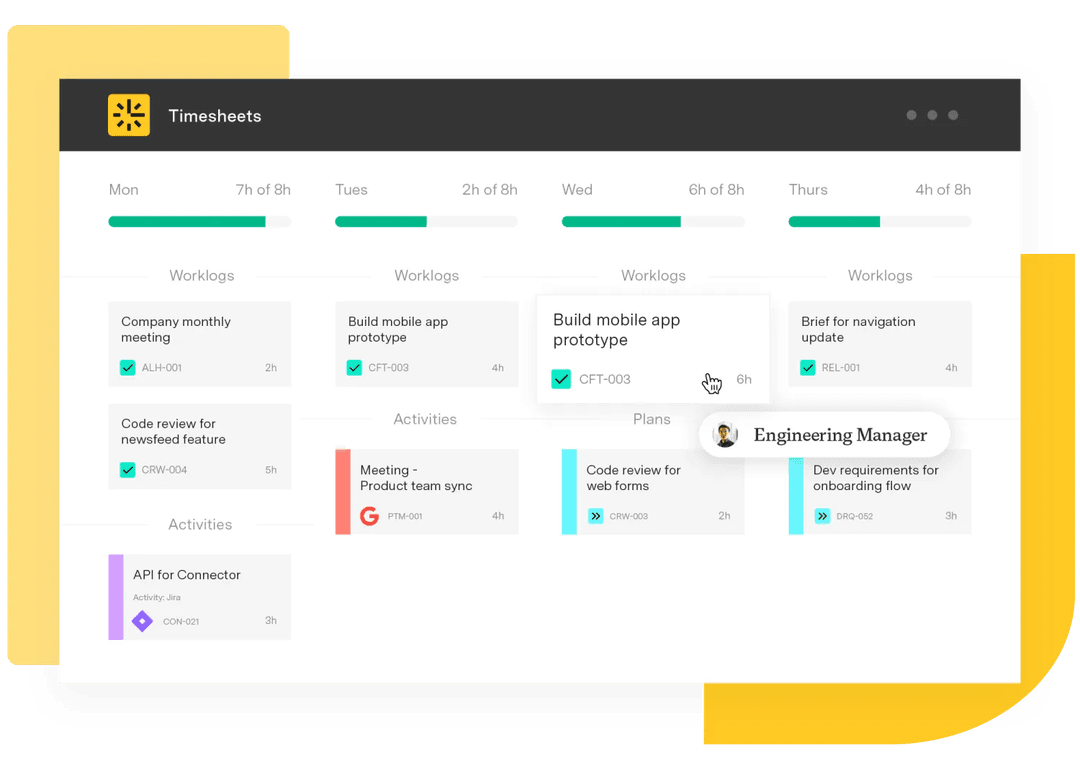
But the customization doesn’t stop there. You can expand and tailor your Jira platform beyond its native functionality with Tempo. Tempo offers a range of efficiency-boosting applications, like Tempo Timesheets, a time-tracking and reporting solution that integrates seamlessly with Jira.
Timesheets helps project teams and management enhance efficiency and improve estimations by facilitating time accounting for payroll, CapEx, billing, compliance, and more.
All Tempo products are compatible with Jira Cloud, Server, and Data Center, and all are available on the Atlassian Marketplace and the Tempo website.