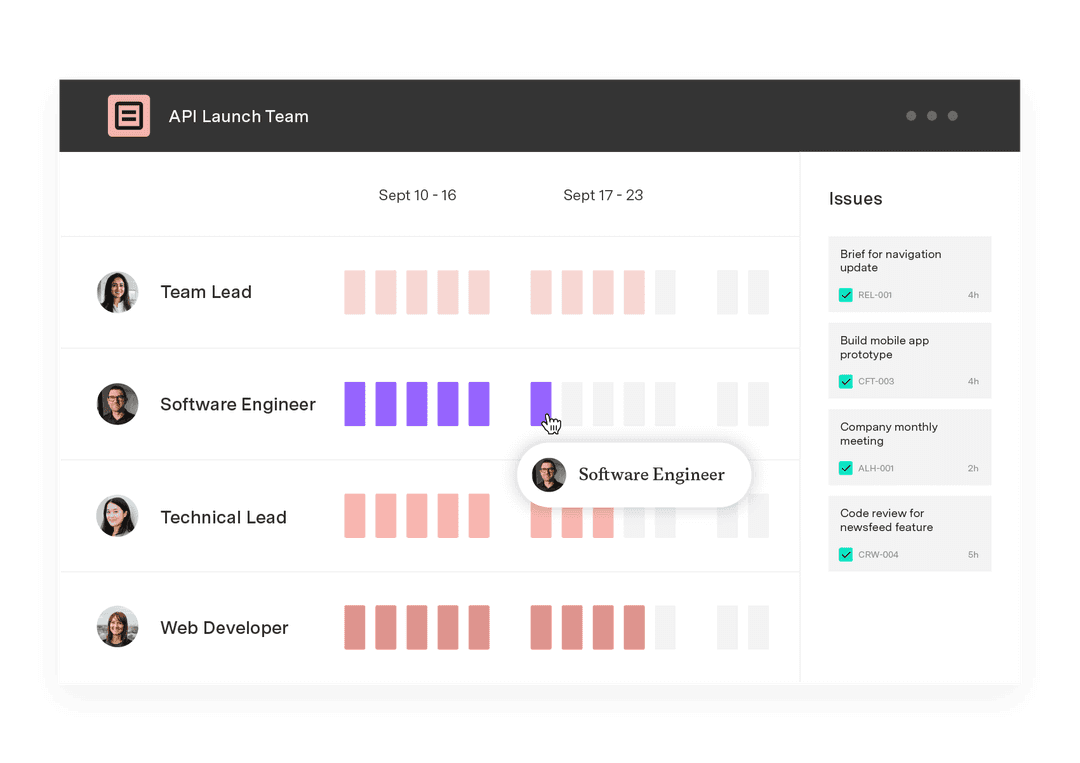
Where can project roles be used?
Tempo Team
Jira is a leading bug-tracking and project management software that offers numerous innovative and flexible features, allowing teams to dynamically plan, track, and manage projects and workflows in one platform.
When setting up your unique Jira instance, you must decide which project roles you want to use. Project roles let you assign relationships to users working on a particular project, giving admins control over information access within Jira.
We’ll explore some standard project roles and how to use them in Jira. We’ll also discuss how you can leverage Tempo’s permission schemes to enhance your Jira project management experience.
Project roles: The basics
You can assign one or more roles to your project team members depending on their responsibilities and what data they need to access. Although initially designed for developers, the Jira platform now features various team roles outside traditional project management, such as human resources, agile marketing and sales, customer support, legal, finance, and accounting. This added flexibility gives organizations more control over projects and allows more users to participate in change management.
Typical project roles and responsibilities include the following:
Administrator
The project administrator role is found almost exclusively within larger organizations that conduct numerous projects simultaneously. Project administrators support project managers, developers, and analysts by completing administrative tasks, such as writing reports, facilitating collaboration, and communicating project updates to key stakeholders.
Depending on their responsibilities, project administrators can either have full access to Jira functions (system administrators) or access to most functions (administrators).
Developer
Project developers conduct the necessary operations to complete the project. There is no project without developers, as they perform the essential work outlined in project planning documents.
Developers often work with software development teams to build front-end interfaces and back-end systems for websites and applications. Other project developer duties include creating project plans, addressing issues during development, and ensuring work meets production standards.
User
A user is an individual or group who will use a project’s product or service. Users may be internal or external workers, managers, and project team members who test and build the product or service. Depending on the project, customers may or may not qualify as users, as some projects affect customers but don’t get used by customers.
Although users typically have little power over project implementation, managing user expectations is critical to project success.
Project manager
Within most organizations, the project manager is primarily responsible for overseeing each stage in the project life cycle. Project managers leverage various tools, such as Kanban boards, Gantt charts, and project management dashboards, to ensure the project remains on track.
Project manager responsibilities include:
Creating the project plan
Developing timelines and schedules
Assigning and supervising team members
Managing risk
Project owner
Like the project manager, the project owner is responsible for realizing the project’s vision. Sometimes, the project owner may even double as the project manager, but they typically function more as a big-picture advocate overseeing the project vision.
In addition to securing project funding and approval, project owners also:
Develop reports
Manage team members
Present updates to organization executives
Project analyst
Highly technical or large-scale projects often employ one or more project analysts. Project analysts act as liaisons between project managers and stakeholders, connecting distinct groups to ensure tasks get completed. Some project analysts work more closely with business units, whereas others specialize in finance or technical operations.
Common tasks performed by project analysts include:
Research
Data analysis
Report preparation
Gathering and communicating business requirements to stakeholders
Stakeholder
Stakeholders refer to individuals or groups that stand to gain from a project’s success. Nearly anyone can be classified as a stakeholder, including project managers, users, and customers.
Although stakeholders can provide input throughout a project’s life cycle, their impact is especially felt during the planning stage, when you develop your project’s scope. Managing stakeholder interests is vital, as their happiness is positively correlated to the effectiveness of project outcomes.
Subject matter expert (SME)
Thanks to their specialized knowledge about particular business processes, tools, and systems, SMEs play a crucial role in project management. SMEs contribute to the project’s success by providing feedback and identifying challenges that may arise during project implementation. They use their expertise to ensure the project is equipped with accurate information and follows industry best practices.
Where can project roles be used?
As a Jira admin, you’ll likely need to create multiple project roles beyond the customary roles listed above, such as a product manager or project sponsor. Your organization can maximize Jira’s flexibility by renaming the project roles and assigning unique permissions to particular functions.
For instance, organizations using Jira for customer service purposes (such as a help desk) may find administrator, developer, and user roles confusing. Instead, the organization may consider renaming “Developer” to “Manager” and “Administrator” to “Director.” Some companies might add a specific “User” project role for clients, allowing them to create, view, and track Jira issues reported by customer service employees.
Jira makes it easy to create, edit, and delete project roles according to your organization’s requirements. Atlassian’s documentation pages walk you through the steps to set up and manage your project roles.
When creating a new project role, keep the following questions in mind:
What tasks does a user with this role need to perform?
Does this user need additional access rights? If so, do these permissions require a separate project role?
Are the established roles adequate for all projects in Jira, or are new roles needed for current or future projects?
You can grant project permissions to individuals or groups, but group permission makes it easier to manage access to project functions, data, and systems. For example, rather than setting up individual profiles, you can add or remove individuals from a group to modify their permissions, ensuring no individual has complete control over a particular set of functions or operations.
You must assign all users with access to Jira to a default Jira user group. Therefore, we don’t advise using default groups in your permissions schemes. This prevents all users from having browsing privileges to access all data within Jira. Lean toward limiting permission whenever possible, as this reduces risk and guarantees approvals flow through the proper channels.
Use Tempo to get the most out of project roles
Project roles vary from one organization and project to another, so you need the flexibility to choose the roles that work best for your initiative.
Jira’s roles also carry over to Tempo’s add-ons. Tempo’s flexible permissions schemes allow admins to assign various permissions to Jira users and groups. The more tailored the Jira role, the more granular an admin can get when determining permissions to access data and utilize specific features.
Explore Tempo’s suite of tools today to streamline your next project.
Sign up for a demo
Request Demo